Unlocking the Secrets of EQ: Essential Mixing Tips for Aspiring Audio Engineers
- contact22078
- Jul 8, 2025
- 5 min read
In audio mixing, equalization (EQ) is the secret weapon that can take your tracks from amateur to professional. If you're an aspiring audio engineer or a passionate music creator, mastering EQ techniques is crucial. With the right skills, your mixes can come alive, showcasing clarity and depth. This blog post explores essential EQ tips for beginners, breaking down frequency ranges and mixing dynamics in a straightforward manner.
Understanding EQ Basics
EQ, or equalization, involves adjusting the balance of specific frequency ranges within audio signals. Frequencies can be divided into three main categories:
Low Frequencies (20Hz - 250Hz): These provide the foundational bass and warmth. Think of kick drums and bass guitars—essential components for driving the rhythm.
Mid Frequencies (250Hz - 4kHz): The mid-range is vital for clarity. Vocals, guitars, and keyboards typically occupy this area. Proper EQ can enhance definition.
High Frequencies (4kHz - 20kHz): These frequencies introduce brightness and presence. Instruments like cymbals and high-pitched vocals fit here, but be cautious; boosting too much can create harshness.
Understanding these ranges sets the stage for effective mixing.

Choosing the Right EQ Type
Various EQ types are available, each serving different needs. Familiarize yourself with these:
Parametric EQ: This versatile tool allows you to select specific frequencies and adjust their gain. A fantastic choice for detailed tuning.
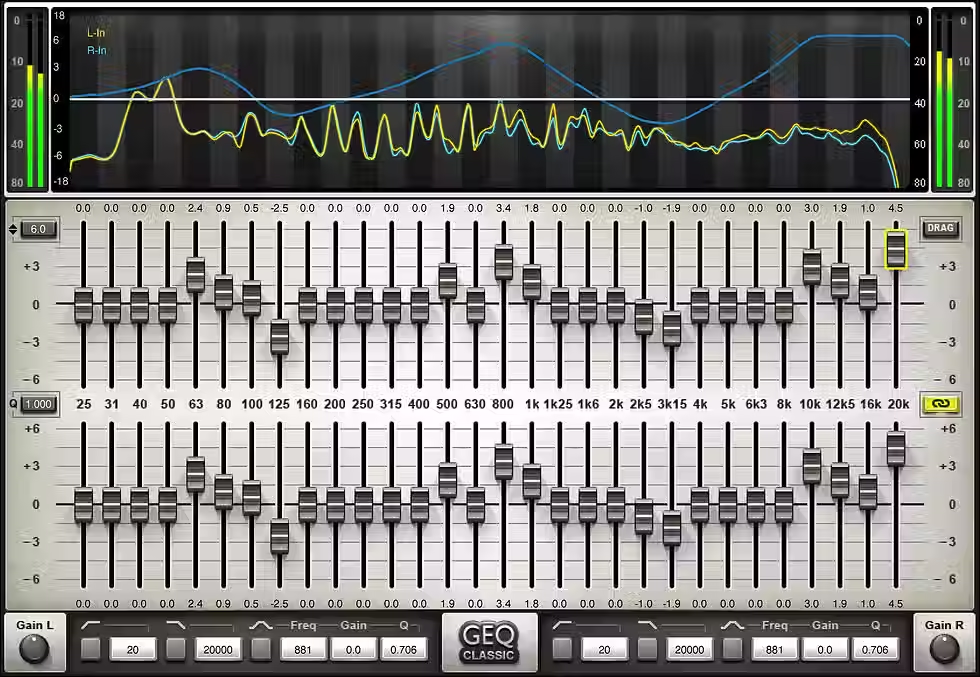
Graphic EQ: This features fixed frequency bands with sliders, making it great for broad adjustments across the frequency spectrum.
Shelving EQ: Boosts or cuts frequencies above or below a certain point. It's helpful for achieving a specific tonal balance.
Multiband EQ is an audio processing tool that allows users to adjust the frequency response of a sound by dividing the audio signal into multiple frequency bands. Each band can be independently equalized, enabling precise control over the tonal balance and dynamics of the audio. This is particularly useful for enhancing clarity, reducing muddiness, or tailoring the sound to fit specific mixing needs.
Opt for a parametric EQ when you want fine control, as it offers the most precise adjustments. Opt for a multiband eq when you want more control over certain frequencies. I love using the FabFilter Pro-Q for this but there are others like the Waves F6 that are also handy tools.
Frequency Ranges: The Importance of Knowing
Understanding frequency ranges is key to enhancing or reducing specific elements in a mix. Here are practical tips for common instruments:
Kick Drum: Boost around 60Hz for a powerful low end. Cut frequencies between 300Hz and 500Hz to eliminate muddiness.
Vocals: Boost around 3kHz to 5kHz for added clarity while cutting competing frequencies in the low-mid range.
Guitar: A notch around 300Hz can clean up the sound, while boosting around 2kHz enhances definition.
Remember: Less is More
Adopting a "less is more" approach is crucial in EQ application. Drastic adjustments can lead to unnatural sounds. Subtle changes tend to preserve the inherent qualities of instruments and vocals, leading to a more polished mix.
One of the ways I approch eq is by keeping narrow cuts/boosts for trouble shooting (using eq surgically) and saving Wider cuts/boosts for shaping.
There aren't any hard and fast rules for using eq but keep in mind that using an eq and effect phase (which can be cool in some cases but usually is detrimental to your mix.)
Listening Critically
Developing critical listening skills is vital for an aspiring audio engineer. Regularly deep-dive into various genres to grasp how EQ is utilized. As you listen, ask yourself:
Which frequencies stand out the most?
Are the lows booming or the highs piercing?
How do different artists blend vocals within the mix?
With consistent practice, your ears will sharpen, enhancing your mixing skills over time.
By utilizing EQ in the context of other tracks rather than in solo, you can achieve a more cohesive sound. This approach allows you to:
Identify frequency clashes between instruments and vocals.
Enhance the overall balance of your mix.
Make informed decisions on which frequencies to boost or cut based on how they interact with other elements.
Create space in the mix by applying subtractive EQ to problematic areas.
Incorporating EQ in this manner will lead to a more polished and professional sound.
Using Reference Tracks
One effective strategy in mixing is using reference tracks. Choose songs you admire and analyze them based on EQ. Pay attention to tonal balance and how instruments coexist in the mix.
Use your findings to adjust your mix. For instance, if a reference track’s vocals sit well against the instruments, mimic that tonal characteristic. This practice helps you understand the density and clarity needed in your EQ applications.
Gain Staging
After making EQ adjustments, it is crucial to perform gain staging to ensure that your audio levels are optimized for mixing and mastering. Proper gain staging helps to prevent clipping and distortion while maintaining the integrity of your sound. Here are some key points to consider:
Understanding Gain Staging
Gain staging refers to the process of managing the levels of audio signals throughout the recording and mixing chain. It involves setting the appropriate levels at each stage to avoid unwanted noise and distortion.
Steps for Gain Staging After EQ Adjustments
Analyze Levels: After applying EQ, check the output levels of your track. Use metering tools to visualize the changes.
Adjust Gain: If the EQ adjustments have increased the signal level, reduce the gain to bring it back to a healthy range, typically peaking around -6 dB to -3 dB.
Monitor Headroom: Ensure there is enough headroom for subsequent processing. Aim for at least 3 dB of headroom to avoid clipping.
Use Reference Tracks: Compare your levels with professional reference tracks to ensure your mix is competitive in terms of loudness and clarity.
Iterate as Necessary: Gain staging is an iterative process. Make adjustments as needed and re-evaluate your levels after further processing.
Effective gain staging after EQ adjustments is essential for achieving a polished and professional sound. By carefully managing your levels, you can ensure that your mix translates well across different playback systems.
Automation: A Helpful Tool
Automation can elevate your mix by adapting how EQ functions throughout a track. For example, boost a vocal’s presence in the chorus while lowering it during verses. This technique adds life to the overall sound.
Use automation judiciously; subtle changes can have significant effects on the final mix. Experiment with automating EQ adjustments to learn how shifting frequencies can create dynamics in your track.
Listening Environment Matters
Your mixing environment plays a crucial role in how you perceive sound. If your room isn’t treated for acoustics, inaccuracies in your EQ adjustments may occur. To improve your listening experience, consider:
Basic acoustic treatments like foam panels or bass traps to reduce reflections.
Moving your monitoring position to achieve a more balanced sound.
Always trust your ears. If something feels off, re-examine your EQ settings. Your environment greatly influences your mixing decisions.

Practical Applications of EQ
Using EQ effectively can be a game-changer, particularly in terms of clarity and impact. For instance, a song with well-balanced EQ might achieve:
45% more clarity in vocals compared to a poorly mixed version.
A 30% increase in the overall perceived loudness without distorting the sound.
These percentages highlight the importance of good EQ practices in achieving professional results.
Start Mixing Today!
Now that you've grasped the essentials of EQ, it's time to put these tips into action. Dive into your projects equipped with these techniques, and watch your audio creations flourish! Happy mixing!


Comments